Rigen Hlaf, or Rye Bread Viking Style

I haven’t made done a new recipe in awhile. I’ve been extremely busy finally getting my act together so fun stuff like cooking and writing has fallen to the wayside. However, this weekend I found time to make a rye bread like the Vikings would have made.

Bread was the staple food for the Vikings, and a meal rarely passed without it. The most common grain used for bread was barley, although rye, oats, and wheat were also used extensively. When times were lean, ground acorns or peas were added to the bread to stretch it out. This would have given it a very course, hard texture that wore down the teeth over time. Grains were the most important and abundant source of food for the Vikings, however they were not only for bread. Ale was consumed at most meals by everyone of all ages. It would have been a thicker, less alcoholic brew than we are used to drinking today, and was actually quite nutritious.

The Vikings did not write cookbooks. The earliest cookbooks from Scandinavia come from the 14th century. However, we can use other written and archeological records to figure out what they ate. Scandinavian sagas included some details about meals, and archeologists have studied the Vikings garbage and poop extensively. We can also trace their culinary traditions through other cuisine found in the parts of Europe that they colonized. Scottish food seems to closely resemble Viking cuisine, and is the most directly related.

The Vikings ate about two main meals a day, once in the morning after the days work had started, and again at the end of the day’s work. They relied heavily on livestock and supplemented with wild game and fishing. Interestingly, beached whales were a highly valued food source in Scandinavia. Fish was salted and preserved for the winter, and produce was eaten in season and preserved by drying for winter. Much of the fruits and vegetables consumed by the Vikings were wild. They rarely drank milk but made it into various dairy products.

I followed this recipe: http://cookit.e2bn.org/historycookbook/963-rigen-hlaf-rye-bread.html

This is a great website with tons of simple, authentic recipes from bygone eras. The only issue I have with it is the measurements, since it’s a UK based website. So here, I’ve re-written the recipe with star-spangled measurements:

2 1/2 tsp dry active yeast

1/4 cup warm water

2 tbs runny honey

1 1/2 tsp salt

1 cup water

2 tbs lard

2/3 cup whole wheat flour

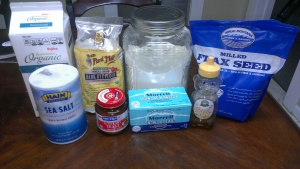
1/2 cup rye flour, plus any more you may need if the dough is too wet (55 g rye flour is actually a little less than 1/2 cup, but I ended up needing to add a lot more flour than the recipe called for, so you would actually end up using more than 1/2 cup)

1 2/3 cup all-purpose flour

1/2 tsp flax or poppy seeds

2 tbs milk

IMAG0353

I don’t have much experience with making bread, and I shy away from it because baking rarely seems to turn out well for me. I’ve made “Super Ridiculously Simple Dinner Biscuits” that turned out like hard tack, brownies with a gummy center, and tortillas that were oddly thick and crumbly. To be honest, I am not a very careful, precise, or patient chef. This is a real problem when baking, because exact measurements and seemingly small steps can make a huge difference in the quality of the final product. I’ve heard somewhere that cooking is an art, while baking is a science. I lack the exact precision and patience of a bread scientist, apparently.

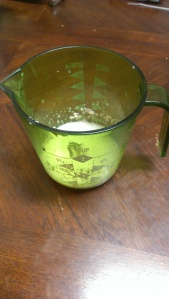
First I had to get the yeast started by mixing it with warm water.

IMAG0355

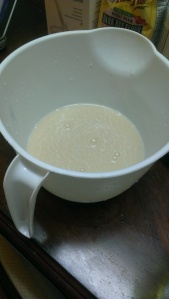
After letting it sit I mixed the wet ingredients.

IMAG0356

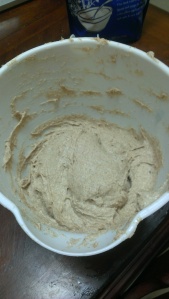
I then mixed in the dry ingredients.

IMAG0358

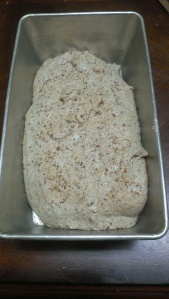
It was too wet and sticky still, so I added more rye flour. I let it rise.

IMAG0359

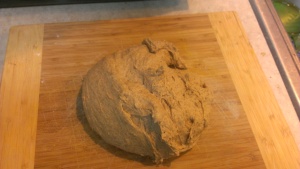
I kneaded it, let it rise some more, flattened it a bit, let it rise more, and finally put it in the bread tin. I topped it with ground flax seed.

IMAG0360

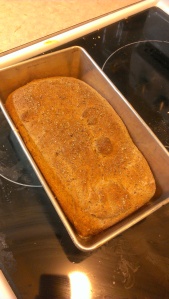
After baking, looks promising…

IMAG0361

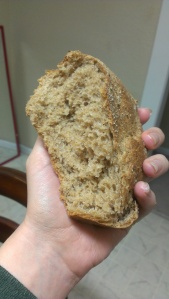
Success! It was soft and lovely. Slightly sweet and very yeasty, in a good way. I had it with some fondue I made in the crock pot, which was delicious but a little bit messy. The bread was so soft and kind of crumbly that it did not hold up well when dipped into the thick fondue, so now my fondue is full of little rye chunks. I suppose there are worse things.

Huzzah!
IMAG0362

An American Colonial Meal

I put together a really yummy, three course meal that would have been eaten in New England in the 18th century. I wanted to put together a full meal with traditional American roots for Thanksgiving, and honestly this one turned out AWESOME.

The first item I made was a nice corn spoon bread. For those of you who don’t know, spoon bread is a really soft, almost pudding-like bread that is served with a spoon, hence the name. It was invented by American colonists and is still a common dish in the south.

You will just need a cassarole dish and the following ingredients:

3 cups milk

1 1/4 cup corn meal

3 eggs, beaten

1 tsp salt

1 3/4 tsp baking powder

2 tbs butter, soft

First, grease the cassarole dish:

IMAG0182

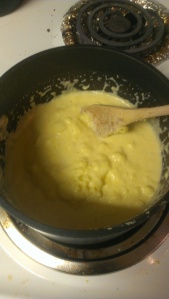
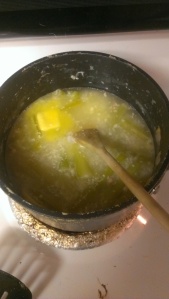
Cook cornmeal and milk over medium/low heat for a few minutes, until the cornmeal has absorbed all of the milk. It may seem like a lot of corn meal for a large amount of liquid, but believe it or not it will soak it all up.

IMAG0183

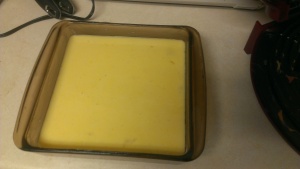
Wisk the cooked cornmeal with the rest of the ingredients in a bowl, and pour into the greased baking dish.

IMAG0184

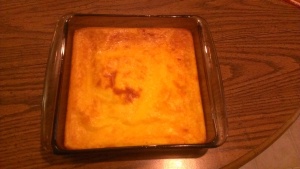
Bake at 375 degrees for 35 minutes.

IMAG0193

Soft, eggy and delicious!

This next recipe is for creamed celery. Celery was one of the few foods growing in the Americas that European colonists were already familiar with and it was eaten frequently. The colonists, unlike the Native Americans, used dairy and set themselves apart by cooking all sort of “creamed” vegetable dishes. Here is a recipe for creamed celery as it would have been made in the 1700s.

You will need:

1 bunch celery, peeled (to remove the stringy outer part) and chopped

1 1/2 cup whole milk

1/2 cup water

3 tbs butter

3-4 tbs flour

1 tbs (recommended fresh) lemon juice

Salt and pepper to taste

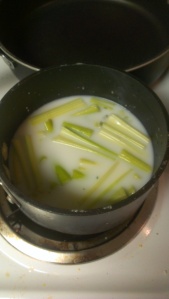
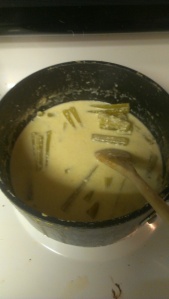
First, I simmered the celery in the milk and water until soft, which took me about 20 minutes.

IMAG0185

Wisk in the rest of the ingredients. The acidic lemon will make the milk curdle a bit, which is normal. Wisking the mixture well (which if you look at the picture you can see I did not do) should prevent too much curdling. Make sure you stir in the flour a little bit at a time until the sauce has reached the desired consistency. Keep in mind it will thicken up a bit when it cools.

IMAG0191  IMAG0194

And serve! Honestly, this dish was not terribly appetizing to look at but was really, really delicious.

The third and final dish is actually a traditional Huron Indian recipe for chicken fried with apples. I assume this is a recipe that only dates as far back as European colonization, since native North Americans did not have access to chickens or apples until colonists arrived.

Huron Honey-Apple Chicken

http://www.nativetech.org/recipes/recipe.php?recipeid=340

1 small can evaporated milk

2 beaten eggs

1 cup bread crumbs

2 tbs light brown sugar

1/2 cup flour

1/2 cup raisins

4  chicken cutlets

Honey

Cooking oil

3 apples, cored, peeled and diced

The chicken is fried then baked, so the first step is setting up a dredging station.

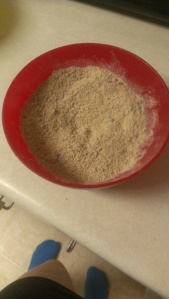
Mix the bread crumbs, brown sugar, and flour in one bowl:

IMAG0187

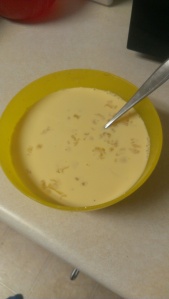
And the eggs and evaporated milk in another.

IMAG0186

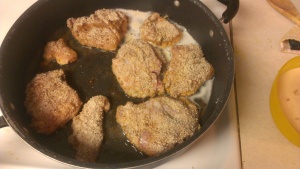
Heat that oil. Fry each piece of chicken for just a few minutes on each side.

IMAG0188

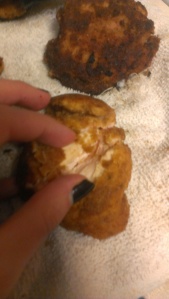
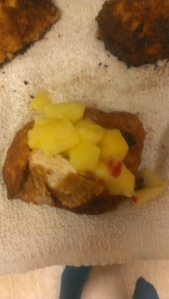
Now, the recipe me asked me to stuff the chicken cutlets with the apple stuffing, which I had no idea how to do.

IMAG0197

Fail.

IMAG0198

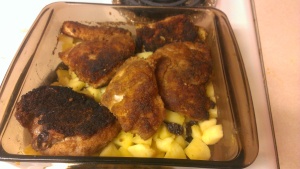
So I just spread the stuffing on the bottom of the pan and placed the chicken on top, before covering the dish with foil and baking for at 350 degrees for 20 minutes.

IMAG0201

Ta-da! Delicious. Drool. Drizzle a small amount of honey over the dish before serving.

Medievel side dishes

My capon pie was pretty weird and bland, so I figured I need to side dishes to spruce them up a bit. These are two recipes for side dishes from a cookbook written in England in the 14th century called “Forme of Cury”.

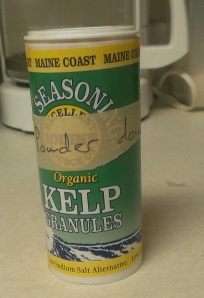
Here is the first one, called “Benes Yfryed”. It is basically just fried beans and onions, but some of the ingredients were hard to find. I had to first stop laughing about the fact that there is an ingredient called “powder douce”, then make it. I included the recipe at the end of this post.

INGREDIENTS:

  • Beans – medieval beans were primarily legumes, not our modern green bean. The Fava bean is probably the closest we have to a period legume.
  • Onions
  • Garlic
  • Olive oil
  • Powder douce

DIRECTIONS: Boil beans until tender; remove from water and drain well. Boil whole peeled onions until tender; remove from water and drain well. Mince the onion and garlic and combine with beans. Fry in hot oil; remove from oil and drain. Place in serving dish and sprinkle on powder douce to season. Serve it forth!
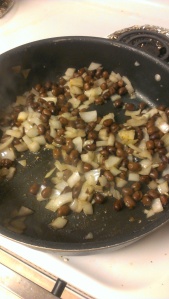
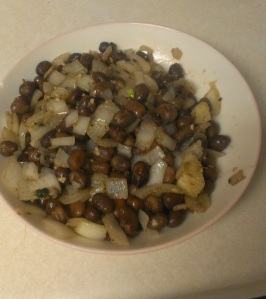
I got my fava beans canned, so I figured I didn’t need to boil them at all. I just put ’em right in the frying pan.

IMAG0178

IMAG0179

These looked really good but the beans were actually REALLY dry. I’m not sure what I did wrong. Maybe I should have boiled the beans to make them EXTRA tender? Maybe fava beans are supposed to be dry?

Source: http://www.godecookery.com/mtrans/mtrans12.htm

Anyway, here is the second recipe:

Synoch Yfryed        Forme of Cury XXIX

Take Spynoch. pboile he i sethyng war. take he up and psse… out of th wat and hem i two. Frye he i oile clene, & do thro powdo and sue forth

2 lbs fresh spinach, washed and with excess stems and withered leaves removed

salted water for parboiling

2-3 tbsp oil (preferably olive)

¼ tsp salt

Pinch ginger

Pinch allspice

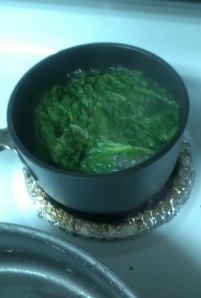
Parboil the spinach in a large pot for about 4 minutes, drain, press out excess water with your hands and chop the spinach; put in a saucepan or small casserole with oil and seasonings. Stir and leave to cook over very low heat for 15 minutes or so; or put covered casserole in a low oven for 20 minutes.

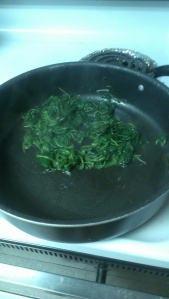
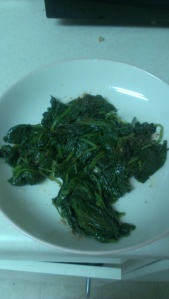
I followed the directions pretty much exactly except for chopping the spinach. It seemed like an unnecessary step to make the spinach mushier. No thanks.

IMAG0175IMAG0176

Turned out well! Tender and flavorful.
IMAG0177

Here is the powder douce recipe:

3 Tbsp. ginger
2 Tbsp. sugar
1 1/2 Tbsp. cinnamon
1 tsp. cloves
1 tsp. nutmeg

http://medievalcookery.com/recipes/douce.html

IMAG0180

Capon Pie

So I have decided to go back a few centuries with my cookery for this post. I found a recipe for “capon pie” dating back to 16th century Netherlands. I got the recipe here: http://medievalcookery.com/recipes/caponpie.html

A few things about this:

– A capon is a rooster castrated before sexual maturity. Apparently this not only makes the chickens less aggressive and easier to handle, but makes the bird grow larger and the meat more tender and less gamey. However, modern chickens at the grocery store are pretty large and tender compared to typical cockerel (non-castrated), so I chose a regular ol’ chicken that should taste pretty similar.

-This pie contains spices, saffron in particular, that would not have been available to everyone or even the majority of people at this time due to their high price. This dish would have been eaten for special occasions or by the wealthy.

-This recipe may have been made using a simple, hard, flour-and-water pie crust called a “coffyn”. These hard, heavy crusts were usually not eaten or were handed out to the poor. Their main purpose was for cooking the contents of the pie and serving. This seemed a little impractical to me so I made the pie in a crust that is historically accurate but also edible. It’s rich and spiced with black pepper, which suits the decadent pie filling pretty well.

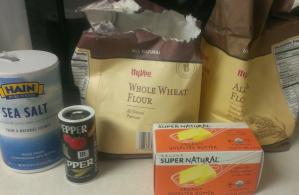
Here is the recipe for the pie crust.

175g (3/4 cup) plain flour
60g (1/4 cup) coarse whole wheat flour
75g (1/3 cup) unsalted butter (salted butter will also work, but do not add extra salt)
¼ tsp salt
twist of black pepper
2½ tsp water
IMAG0157_1
Pie Crust Preparation: Method: Take the butter from the fridge, cut into small cubes and leave on the side for at least half an hour to warm up. Meanwhile mix the flour together in a large bowl and add in the salt and pepper. When the butter has softened add this to the flour mixture and either cut into the butter with two knives. Alternatively use your fingers to rub the butter into the flour (this gives far better results) and keep rubbing until the texture resembles that of breadcrumbs. Add the water a little at the time until the mixture binds together but is not too tough. This pastry dough should be good enough to roll immediately and is enough for one 22cm (9″) pie. (If, however, the pastry is a little tough to roll out cover with clingfilm and place in the fridge for about half an hour).
I accidentally made extra so I had some to freeze as well.
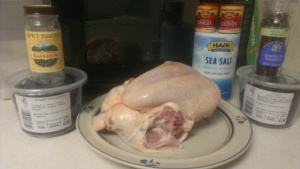
So, after making the pie crust (don’t bake obviously) it’s time for the filling:

1 12 – 2 lbs.Chicken, chopped
2 Tbsp. Currents
2 Tbsp. Prunes, chopped
Pinch Saffron, ground in pinch of salt
1/8 tsp. Cloves, ground
1/4 tsp. Grains of Paradise, ground
1/2 tsp. Ginger, ground
Pie Shell

IMAG0159

Mix chicken with dried fruits and spices, place in pie shell and bake in 425°F oven for 30-50 minutes until done.

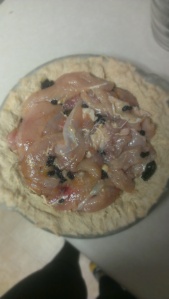
Here it is before cooking, pretty gross looking:

IMAG0160

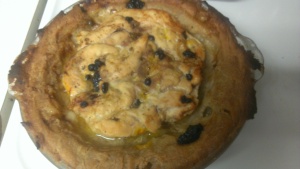
And after cooking, a bit weird but much more appetizing:

IMAG0161

I’m pretty sure the clear liquid is chicken juice.

The verdict: Pretty okay. The chicken was a little dry and it was rather bland, as medieval food typically was. It was like a slightly bland chicken cassarole. Not bad, not great.

Grandma’s Apple Fritters

Today I am making yet another one of my grandma’s dessert recipe. Something about this blustery weather makes me crave simple mid-century sweet pastries. My mom also gave me a bunch of apples from the tree in her garden. These particular apples are sweet and have a really nice flavor but have a kind of pithy/starchy texture, making them a lot better for baking than snacking. I’m not sure if my mom’s parents grew apples on their farm or not, but even if they didn’t they probably got their apples and some other produce from a local farmers market, where varieties like this were probably available.

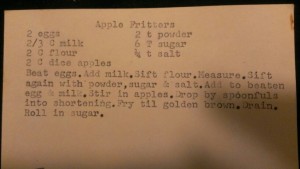
Here’s a picture of the recipe card: recipe

Ingredients:

2 eggs

2/3 C milk (I have almond milk on hand so I will use that)

2 C flour

2 C diced apples

2 tsp powder (I’m guessing “powder” means “baking powder” in this case.)

6 tbs sugar

1/4 tsp salt

Shortening for frying

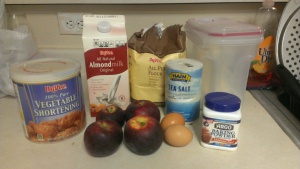
IMAG0146

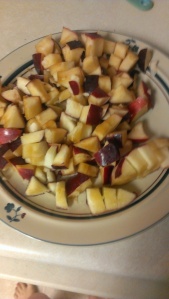
First step is to rinse and dice the apples. Am I supposed to peel them first? I’m not sure, so I won’t.

IMAG0147

I ended up with a little bit more than 2 cups, but that’s okay, I want these fritters really apple-y.

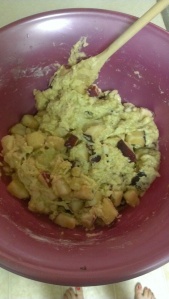
Here is the finished batter/dough. It looks kind of green in this picture for some reason, but appears much more appetizing IRL:

IMAG0148

Frying:

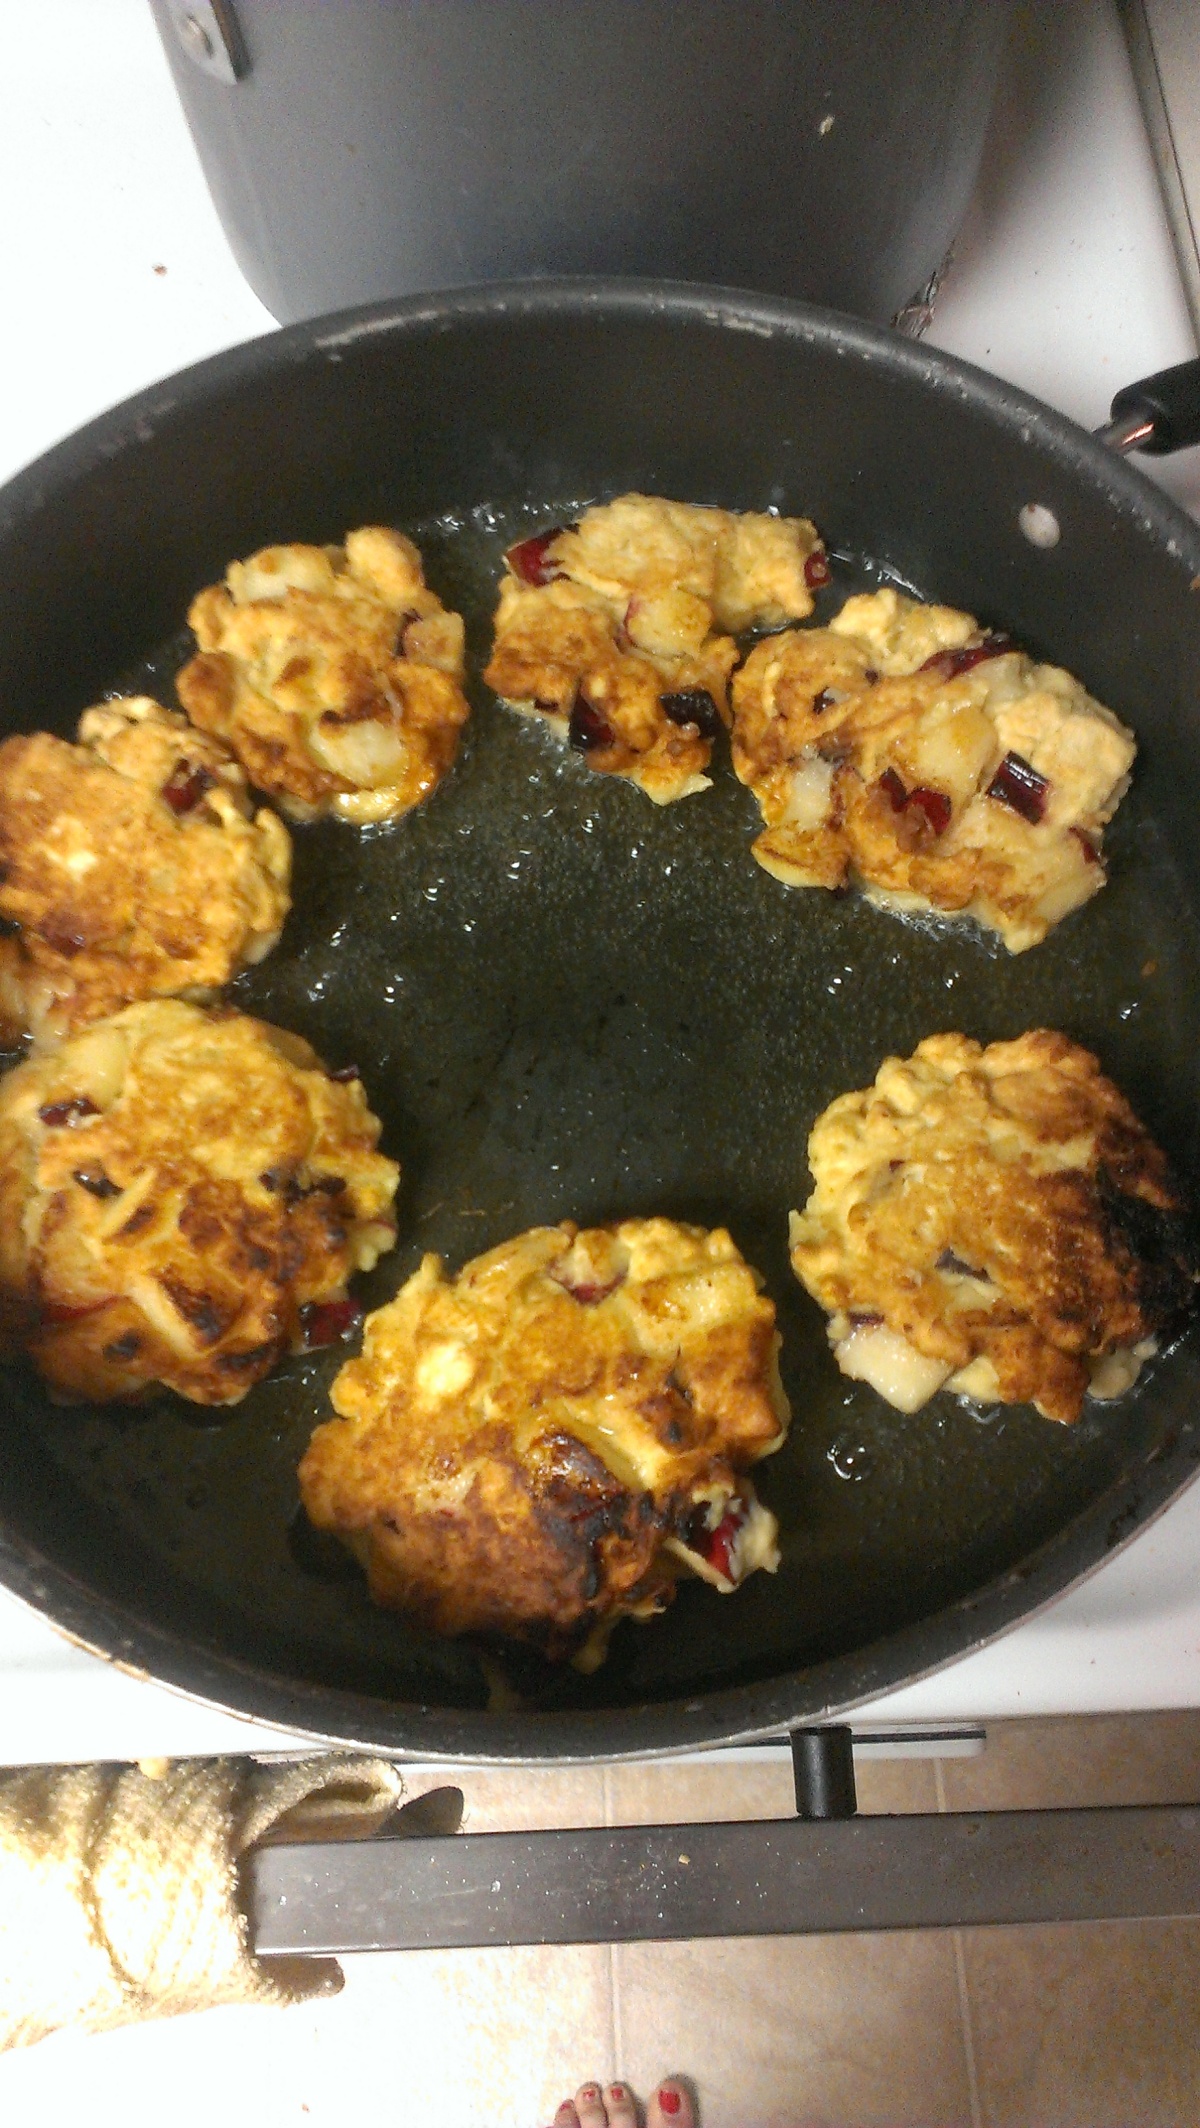
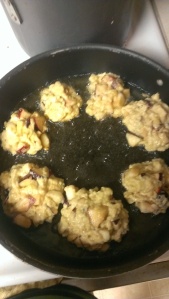
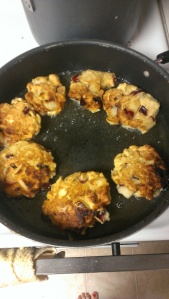
IMAG0150IMAG0151

And done! I decided not to roll the fritters in sugar like the recipe requests. I know this is a dessert but there is already PLENTY of sugar in the batter.

The verdict: Lovely! Crispy on the outside, soft on the inside, with just the right amount of sweetness. The tartness of the apples was perfect too. Great success!

My Grandma’s “German Chocolate Pie”

So I was digging through my grandma’s old recipe box and found this recipe for “German Chocolate Pie”. I also noticed that I have all the necessary ingredients! This is a good place to start this project; something relatively basic and non-threatening. Her recipes are very mid-century American. She has spent her entire life in rural Kansas, and as a result is a big fan of Jell-O and Oleo. This one looks pretty appealing though, like homemade pudding in a pie crust.

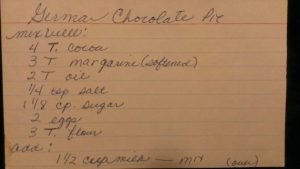
Here’s the recipe card:

10708493_10154637965400394_1263387371765925855_o

And here is the recipe as written, along with my slight alterations:

FOR THE FILLING

Mix well-

4 tbs cocoa

3 tbs margarine (I will be using butter instead)

2 tbs oil (I will use unrefined coconut oil)

1/4 tsp salt

1 1/8 cup sugar

2 eggs

3 tbs flour

Add and mix-

1 1/2 cups milk (I will use almond milk, because it’s what I have on hand)

Stir in-

3/4 cups coconut

3/4 c. walnuts

(I only have sliced almonds and pecans, and don’t really like that shredded desiccated coconut stuff anyway, so I will just use 1 cup sliced almonds and pecans)

Bake in raw pie crust at 325 degrees for one hour

FOR THE CRUST

My grandma probably would have used a store-bought pie crust, but I opted to make my own. I just used a basic, flaky buttery pie crust recipe:

1 1/4 cups all-purpose flour

1/4 tsp salt

1/2 cup butter, chilled and diced

1/4 cup ice water

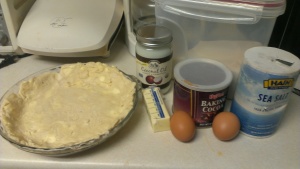
Let’s begin! Here I’ve gathered the ingredients…and am now realizing I left the milk and nuts out of the picture. Oops. I’m new at this.

IMAG0048

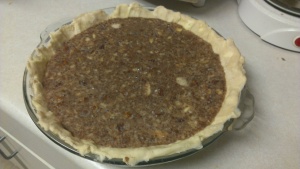
Here’s a picture of the pie pre-oven, looking a lot like vomit:

IMAG0049

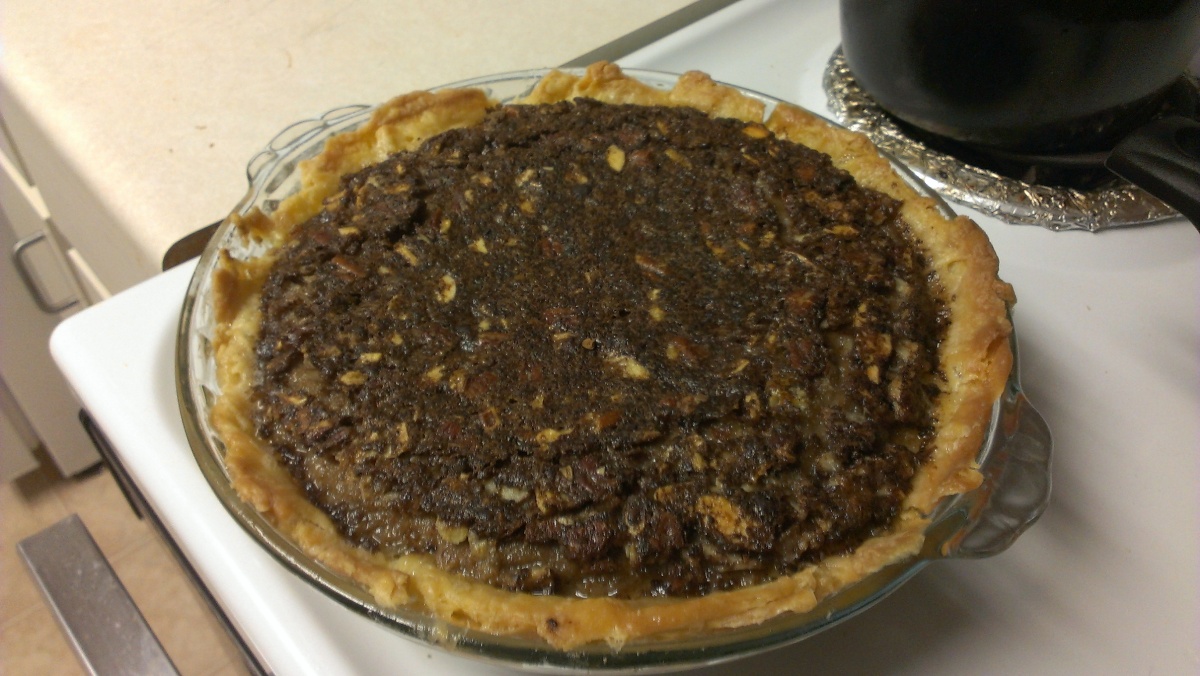
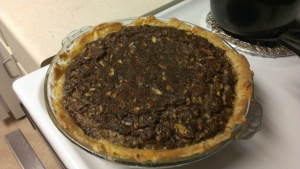
And done! Looks lovely.

IMAG0061

The verdict! AMAZING! My prediction was correct. It is like a warm, nutty, eggy chocolate pudding in a flaky pie crust. What an auspicious start to my project! The crust was just slightly tough, but I think that was due to my own serious lack of experience with pie crust. Overall awesome and had me going back for seconds.

An Introduction

So, I am starting this historical food blog. I have always loved history and anthropology. I’m really interested in the connection between what people eat and how it shapes their lives, cultures, and eventually their history. So, I’ve decided to put those antique recipes I’ve been hoarding on Pinterest to good use with this culinary project. A couple of relevant things:

1. I’m particularly interested in what my ancestors ate, from my grandma to my pre-modern descendents. This means the recipes I make will be mostly of American and European origin. I am clearly leaving out vast geographic regions when I refer to culinary “history”, but “Kate Eats Northern and Western European and Early to Mid-20th Century American History” is a little wordy. Although I may include other recipes as well that do not fit into this category.

2. I ain’t made of money. I’m a student. I have a small kitchen that I share with three other people. I don’t have all of the supplies needed for 100% authenticity for some of these recipes. I also don’t necessarily have access to all of the correct ingredients, particularly for some of the more antiquated recipes I want to try. However, I consider this as part of the challenge. There will be improvising!

3. I am pretty health conscious…sort of. I avoid eating too many animal products and empty carbs, and I try to keep a whole, balanced diet. In fact, my determination to eat deliciously, cheaply, and nutritiously is probably what led me to start cooking in the first place. This is going to be really hard when I make some of these recipes. Many early American recipes in particular call for loads of whole milk, lard, eggs, butter, white potatoes, noodles, cream…which makes sense. They were raising barns, gathering wood, and fattening up for harsh winters. I have never raised a barn, and I have a heater. This is going to be hard for me. While I will do my best to keep these meals authentic, I may occasionally add era-appropriate but healthful touches to some of these meals to avoid having a heart attack before I complete my project.

4. My boyfriend is CRAZY picky. It will be fun getting him to try some of these.

5. In order to add authenticity, as well as to save money and be more eco-friendly, I will try to only use in-season produce. I have a feeling I will be really sick of apples and sweet potatoes by December, but that’s part of the experience!

Anyhoo, wish me luck!